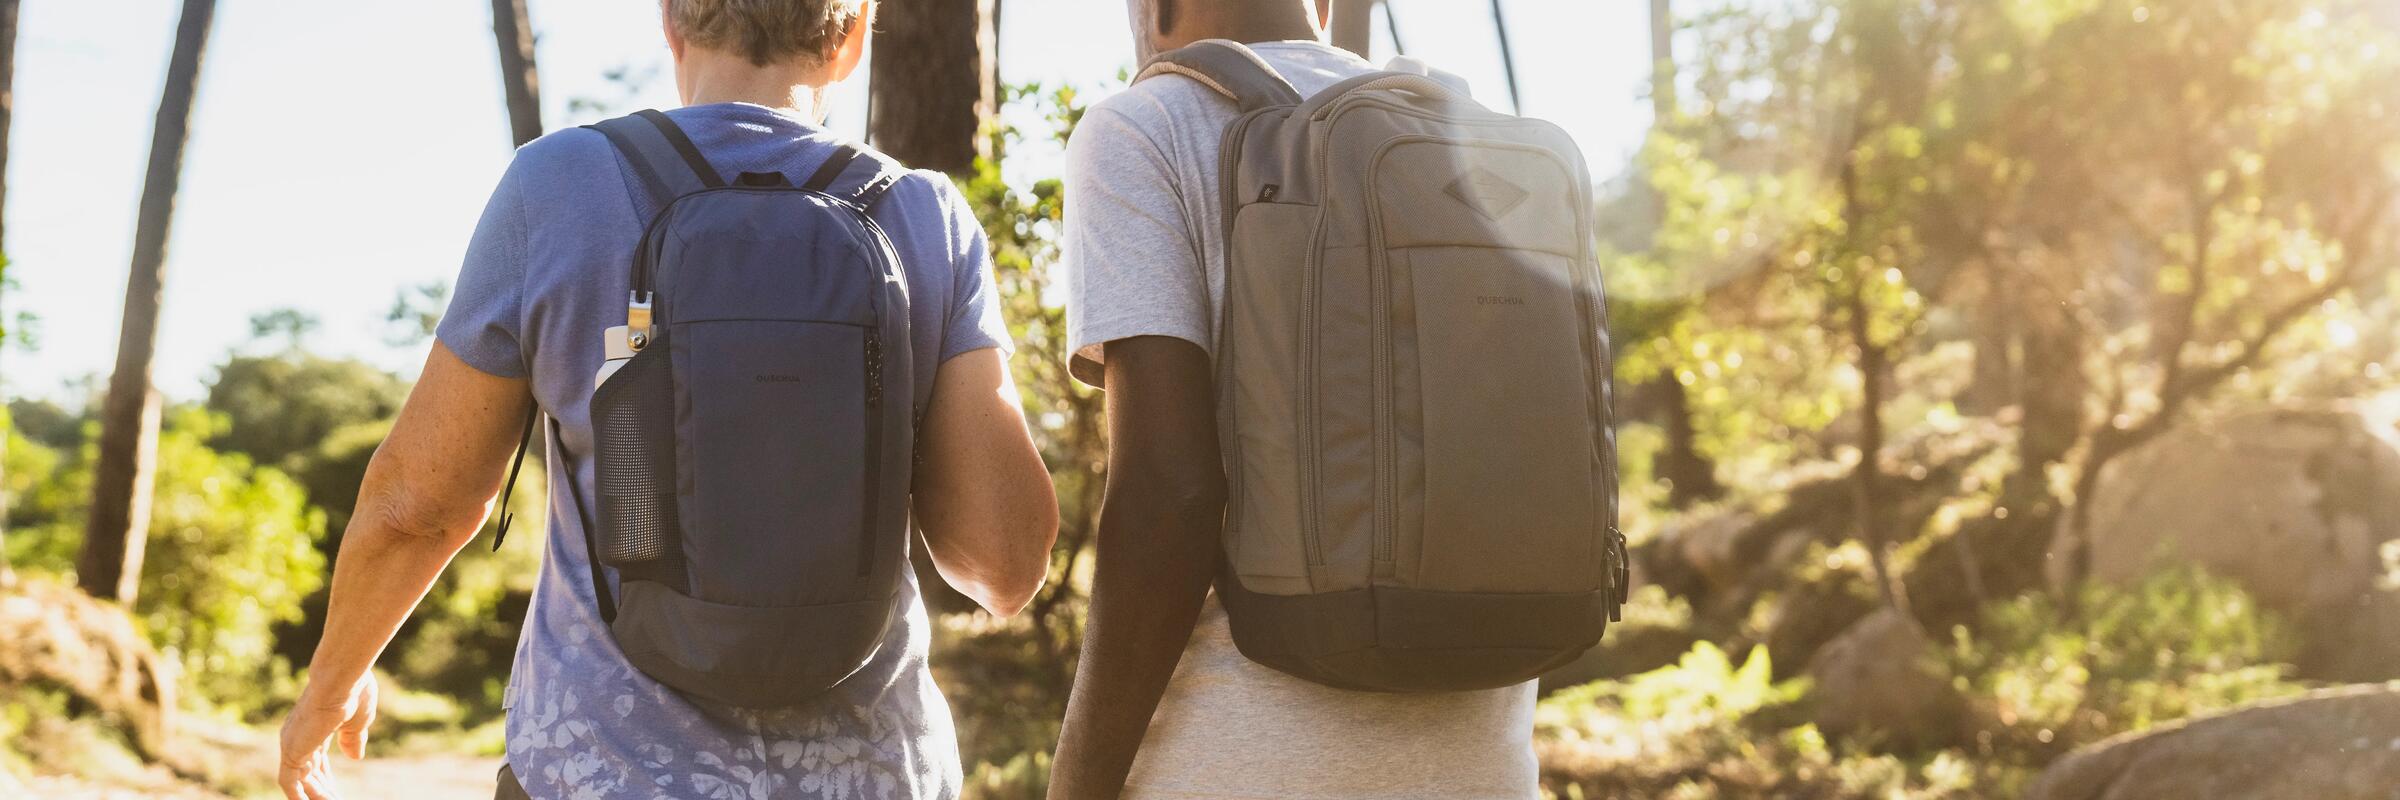
Whether you're just going walking for a few hours, trekking for a day or several days in the mountains, we
have the right backpack for you!
Whether you are off for a walk for a few hours or setting off hiking we have the perfect backpack for you!
Discover all our advice so you can select and prepare your backpack.
Are you asking the right questions?
Primarily, it is important to ask questions and adapt the backpack selection and its preparation to the
envisaged activity.
Ask yourself:
How much time will I spend hiking?
What type of terrain will I be crossing?
Are there many height differences?
Do I need to carry the equipment of other hikers (for example, children)?
Will I be hiking independently or will I be stopping in holiday cottages and making stops?
Based upon practice, ensure you have selected the correct backpack with adequate storage and which
satisfies your personal organization. Subsequently ensure that the bag has all the adjustment
features to ensure the bag is suited to your back. For long walks, choose bags with back
adjustments, a chest strap, booster straps on shoulders and a back the length of which can be
adjusted so it truly adapts to your body. Finally, select a light bag when empty to take off as much
pressure on the back as possible.
Tip: Take time to try your backpack loading it with equipment to test how it sits and the
comfort. You can also borrow different bags from your friends to test them in genuine conditions, loaded
with your equipment.
The volume in liters can vary slightly based upon your size but also where you tend to travel very light.
Do not forget that an adult can carry about 25% of their weight on their
back.
Children should not carry more than 10-15% of their body weight. Do not
exceed this limit otherwise you risk injuring your back.
Duration of hiking
Based on the duration of the walk, the season of the year and the supplies that are needed (personal or
camping equipment) you have to choose which bag satisfies your needs.
If you like walking on lowland or over ground with small height differences for a few
hours, you need space to carry water, food, a windbreaker, a first-aid kit and your
camera. With this objective in mind, Quechua developed the Arpenaz and Escape ranges.
A 10L - 30L backpack is perfect for this type of outing. Equipped
for hiking, you can easily attach your hiking poles and add a flask or small water pouch.
If you prefer setting off for a few days in the mountains, we recommend using a travel backpack
able to hold 40 to 60 liters. If you are hiking with children, select a larger size in
order to lighten their loads as much as possible. You will need space to carry a sleeping bag, a tent,
catering items, clothes and lots of water and food.
In the following table you can see our guide based on duration.
Duration
Supplies
Liters
Half Day
Personal
10L & 20L
1 Day
Personal + ( first aid kit, camera )
30L & 40L
2 - 5 Day
Personal + equipment for overnight in shelter
50L
> 5 Day
Personal + equipment for overnight in shelter
50L & 60L
2 - 5 Day
Personal + equipment for overnight in the countryside
60L & 70L
> 5 Day
Personal + equipment for overnight in the countryside
Our hiking and travel backpacks are made with a lot of pockets to help you carry your personal stuff and
equipment for your adventures.
There are 6 different kind of pockets:
Bottom pocket to keep your sleeping bag.
Main pocket for personal supplies, tent, catering items etc.
Water bladder pocket on the inside of the bag.
Side pockets for water, map, torch, shelter etc.
Small pocket on the waist band for easy access to phone, snacks etc.
Top pocket for sunglasses, wallet etc. (*It is removable on travel trekking backpacks).
There are 8 different kind of straps:
Waist straps. It is the most important strap so it's the first strap that we tighten when we
wear the backpack. Its correct position is to rest on the bones of the pelvis to reduce the weight
from the waist.
Arms straps. It is the 2nd strap that we tighten to adjust the
backpack. It brings the backpack close to his back. (*In Easy-Fit backpacks, it adjusts the back
to the height of whoever wears it.)
Shoulder straps. It is the 3rd Strap
that we tighten to adjust the backpack. It brings the top of the backpack close to the
shoulders. The farther the backpack is from the back, the more the backpack will tilt backwards
and strain the waist.
Chest straps. Holds the "sleeves" of the backpack firmly
so that they do not open & lick the hands. Gives stability. Moves up and down so as not to
obstruct breathing.
Side straps. They help to attach objects to the outside of
the backpack. (eg water, raincoat, tents / tent, tarpaulin). (*Generally it is not good to hang things
outside the backpack.)
Pole straps. On the front of most backpacks there
are 2 rubber bands that serve to fasten the walking sticks.
Thumb rest straps.
Helps to relax the hands. For long distances, it prevents swelling of the fingers caused by blood
flowing to the palms when the hands are in a vertical position.
Top straps.
Many backpacks have a rubber band over the backpack lid to hold things. (* It is recommended to place
only something very light so that the weight of the backpack does not move up & back.)
Adjustment
To make the most of your mountain hike, you must have a backpack that is compatible with your stature.
But this is not enough. It must also be correctly adjusted so that you don't feel as if you're carrying
the weight of the world on your shoulders.
A number of steps are needed to properly adjust it. Please advise to the following video:
Loosen all the straps
The shoulder straps, waist belt and load adjusters.
Put the backpack on
For optimal adjustment, remember to
perform this step once your backpack is loaded (we explain how to properly balance this load below in
this article).
Put the belt around your waist and tighten it
A
well-positioned belt should conform to the shape of your hips. By carrying more of the load at the
waist
rather than the shoulder straps, you won't feel the full weight of the backpack on your
shoulders.
Tighten the shoulder straps
They should be tight enough to
hold the backpack in position, without pulling on your shoulders too much. There should be enough
space
for a finger to pass between your shoulder and the shoulder strap.
Adjust the load adjusters and the sternum strap
The backpack and your back must move as one. Firmly
tighten the load adjusters so that the backpack doesn't pull you backwards. However, leave a little
scope so that it doesn't hinder your movements.
Packing
Now that you have a properly adjusted backpack in the right size, you're finally ready to go hiking.
Well, almost! There is one last tip we need to give you before you start eating up the miles to reach
the summits: remember to properly balance the load of your backpack.
After carefully selecting the equipment you need, it is time to decide how best to pack it. When doing
this, you have one priority: properly balancing the load between the front and rear and the left and
right. If your pack is leaning to one side, your body will have to work to counteract this imbalance,
and get tired as a result. You also increase the risk of a fall, when you walk up and downhill. Equally
important is keeping the load compact in order to prevent tapping or swinging movements that could make
you fall.
But what is the secret to a well-packed backpack?
The heavy items must be placed in
the middle of the backpack closest to your back, while medium weight items go at the bottom and around
the sides, with the lighter items at the top.
At the bottom of the bag
Place your sleeping equipment (sleeping bag, mattress) and your spare clothing. Slide in your water
bladder along the back. Your shoes can go in the pocket at the bottom of your bag.
In the middle of the bag
Pack your tent (vertically), your stove, your cook set and food. Everything should be located as
close as possible to your spine. If there is not enough room for your tent and it is light, you can
fasten it to the bottom of your backpack using the hooks on the outside. If your bag has straps on
the top or bottom, you can use them to fix your tent and save space inside.
At the top of the bag
Keep your fleece, raincoat and first aid kit to hand. The groundsheet will fit under the flap or
under your bag, thanks to the lash points on the outside.
In the various pockets of the bag
You can pack your sun cream, maps, compass and sunglasses. Cereal bars or a camera can be placed in
the waist pocket for quick access. Your telescopic poles will be best outside the bag, lashed
vertically.
In the remaining space of the bag
You can pack your hiking clothing that will stop your equipment from rattling around in your bag.
Hiking
Equipped with the right hiking clothing and hiking equipment, you can fully concentrate on the outdoor
experience: Whether trekking shoes for a safe step, fleece jackets , functional underwear and hiking
clothing made of merino wool for fresh days or a rain jacket for all eventualities. With our own brands in
the hiking and mountain sports area Quechua , Forclaz & Simond you get the best quality at unbeatable
prices.
Discover
hiking equipment