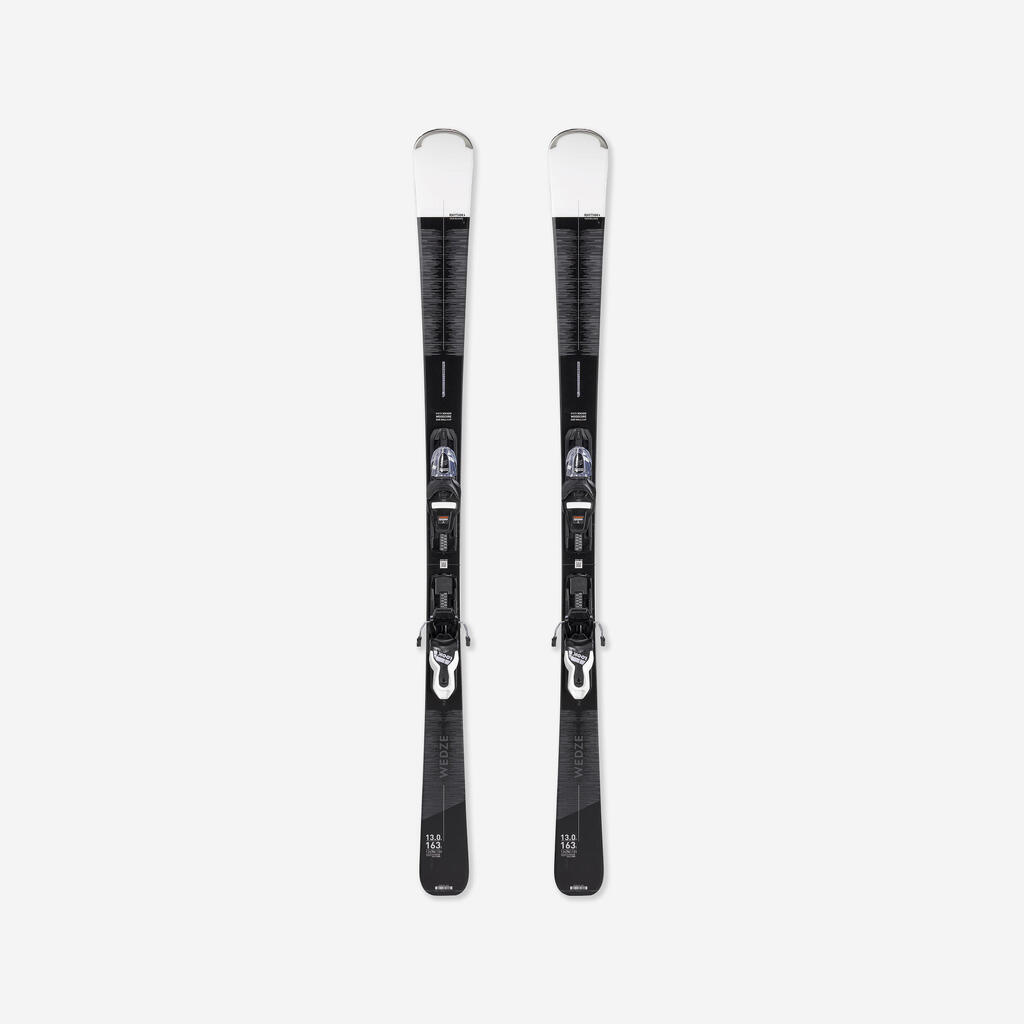
WEDZE WOMEN'S DOWNHILL SKI WITH BINDINGS - BOOST 580 - BLACK AND WHITE 4.7 4.7 out of 5 stars. 31 €319.99
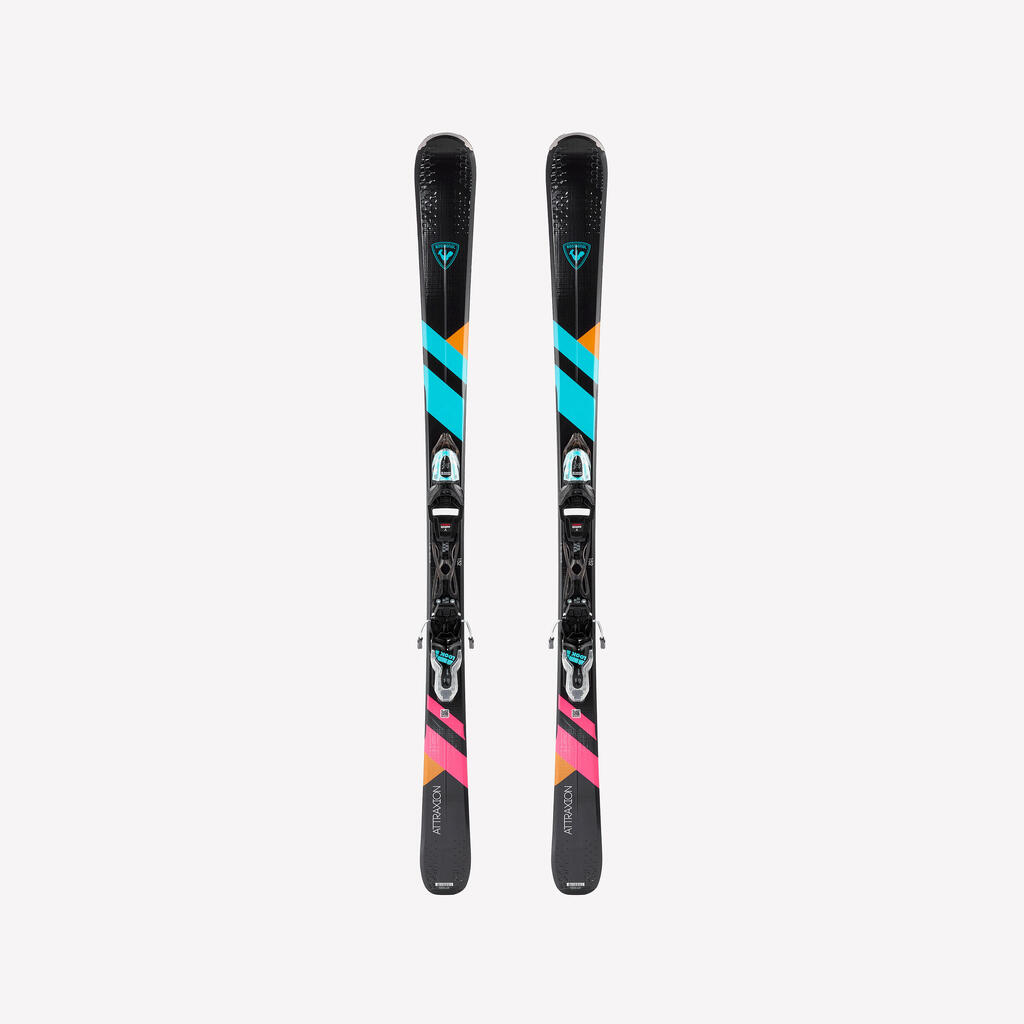
ROSSIGNOL Women's downhill skis with bindings Rossignol Attraxion - Black/pink 4.8 4.8 out of 5 stars. 67 €209.99
ROSSIGNOL Rossignol Sender Soul Pro Men's Freeride Ski with bindings 4.8 4.8 out of 5 stars. 6 €349.99
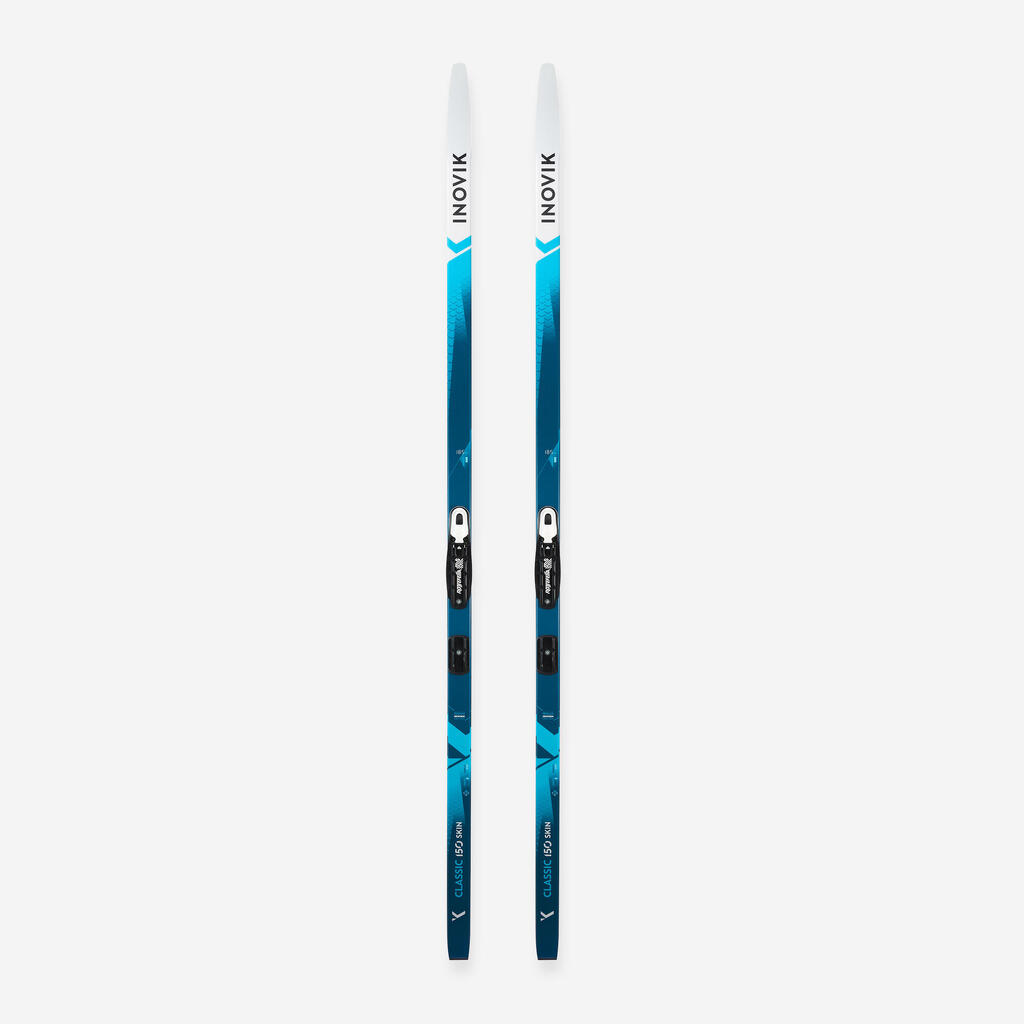
INOVIK Classic Cross-country Skis550 with Skins - Medium Camber+XCELERATOR PRO Bindings 4.1 4.1 out of 5 stars. 12 €274.99
WEDZE Double Titanal All-Mountain ski with bindings, Patrol 95 Ti - Orange 4.1 4.1 out of 5 stars. 9 €534.99
INOVIK Ad. classic cross-country skis with skins XC S 500 SKIN + Fischer Step-in bind. 4.7 4.7 out of 5 stars. 4 €199.99
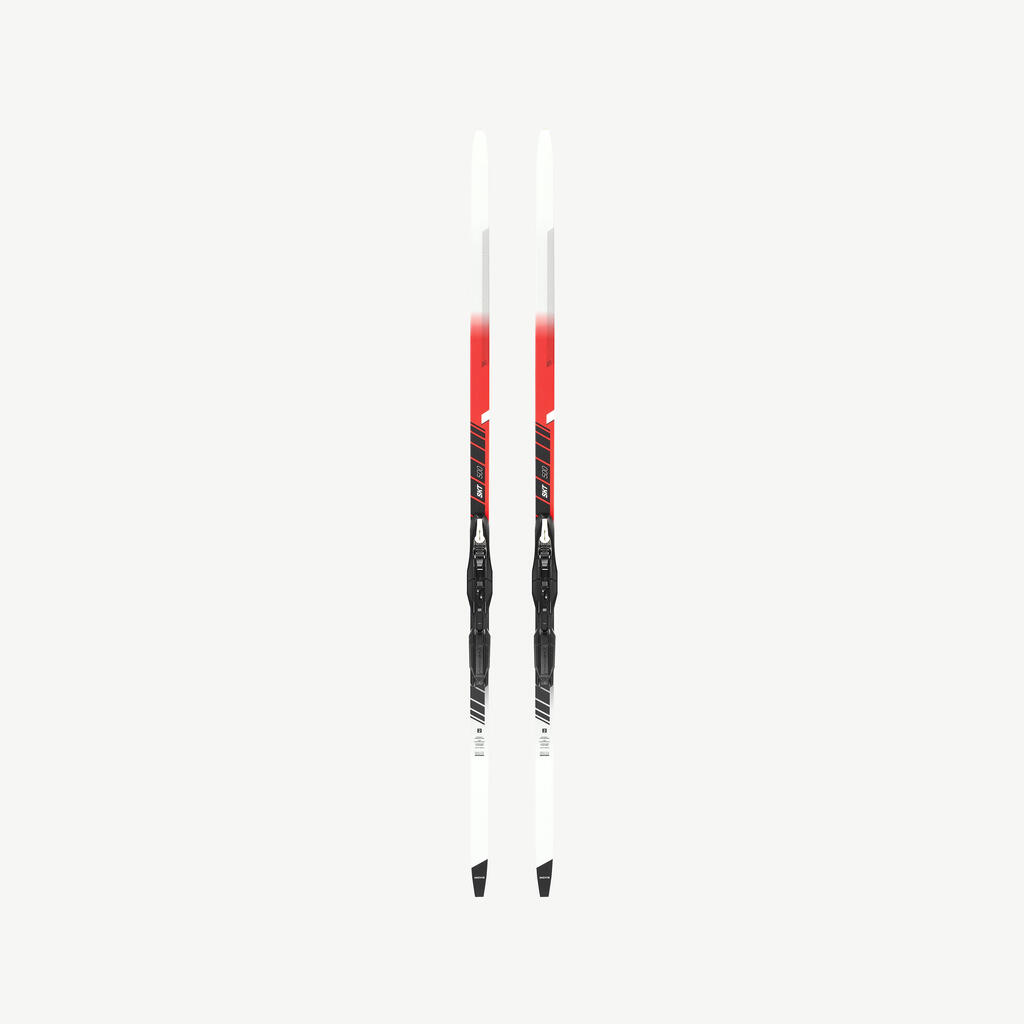
INOVIK AD cross-country skis MEDIUM camber skating550+Rottefella XceleratorPro bindings 4.4 4.4 out of 5 stars. 12 €249.99
WEDZE Titanal All-Mountain ski with Tyrolia Attack LYT 13 bindings, Patrol 105Ti 5.0 5.0 out of 5 stars. 1 €554.99
SALOMON Salomon S/Max No.6 women’s skis with bindings - Black and Lavender 4.7 4.7 out of 5 stars. 12 €319.99
SALOMON Women's all-mountain skis with bindings Salomon Stance 84 - Purple 2.5 2.5 out of 5 stars. 2 €504.99
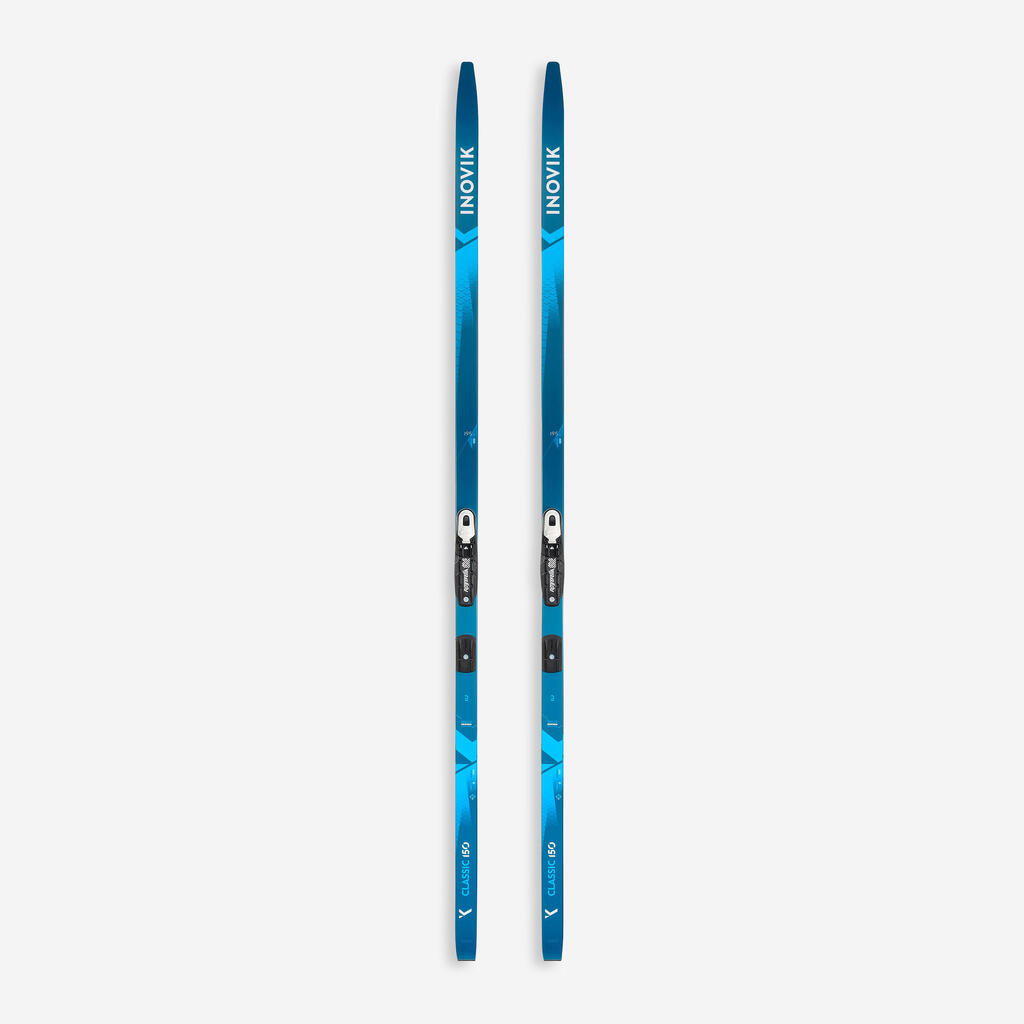
Entry Level - Best Price INOVIK Second Life - CLASSIC CROSS-COUNTRY FISH-SCALE SKI XC S 150 + Bindings - VERY GOOD 4.6 4.6 out of 5 stars. 48 €99.99