Men Skis
18 products
-
-
-
WEDZE
Men’s All-Mountain skis with bindings, Patrol 80, Wood
€329.99 -
-
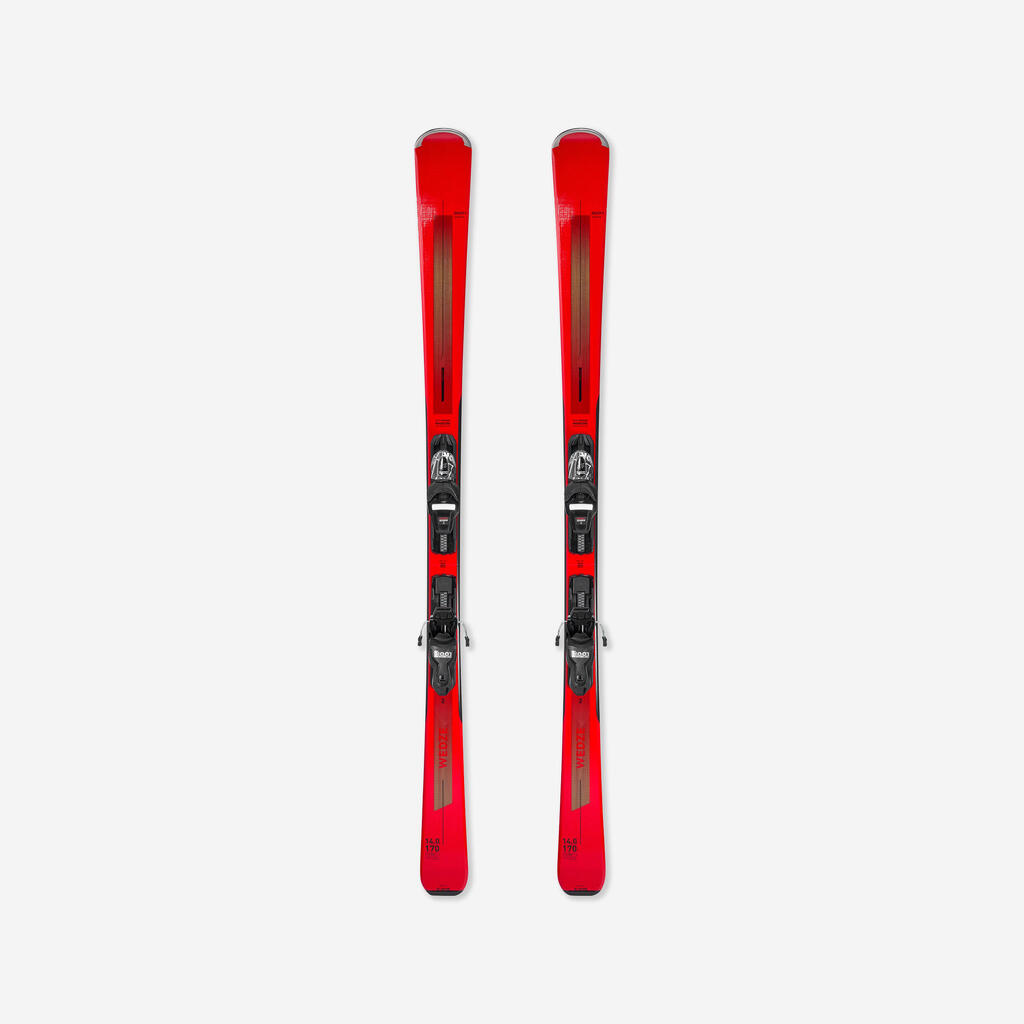
WEDZE
Men’s piste ski with bindings, Boost 500 - Red
€249.99 -
-
-
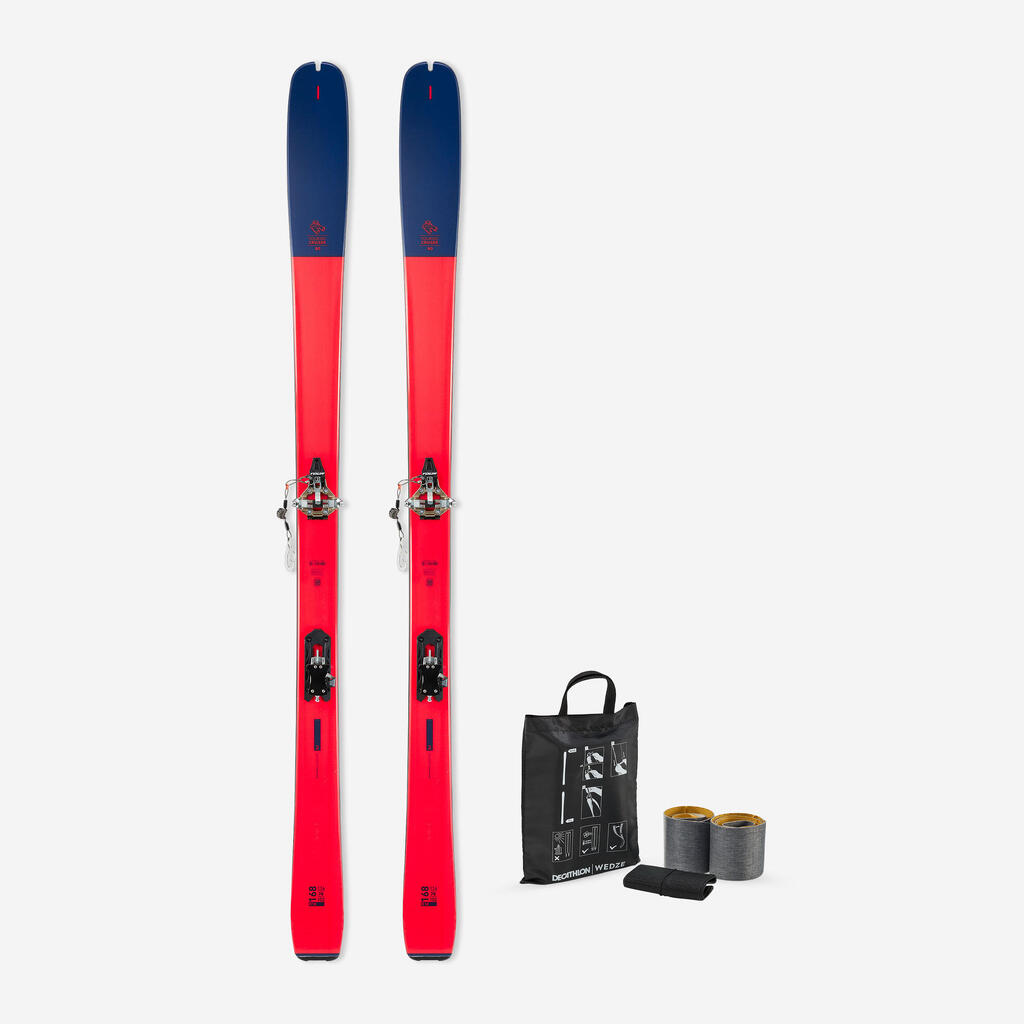
WEDZE
TOURING SKI - CRUISER 80 + TOUR LIGHT BINDINGS + SKINS
€614.99 -
ROSSIGNOL
Rossignol Sender Soul Pro Men's Freeride Ski with bindings
€349.99 -
-
-
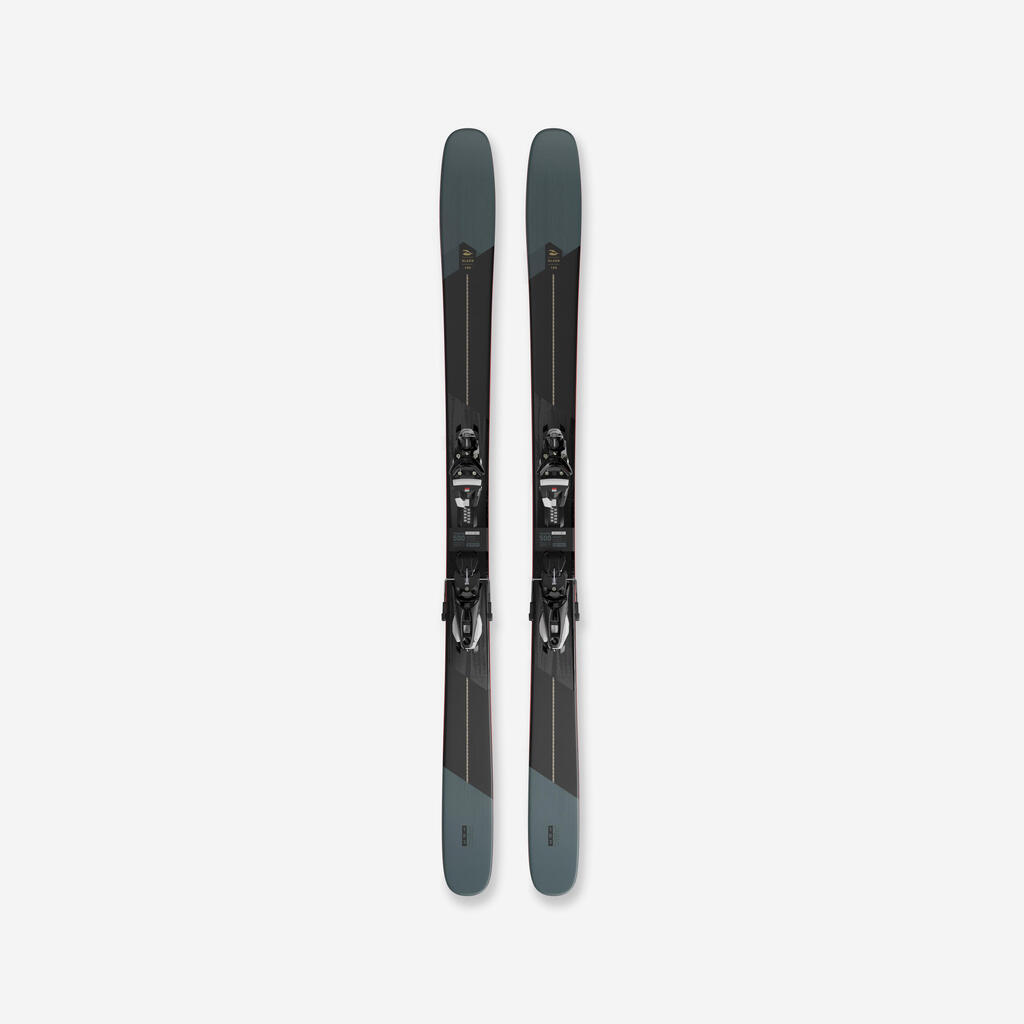
WEDZE
All-mountain ski with bindings, Patrol 90, black
€434.99 -
WEDZE
FREESTYLE SKIING - CLIP 85
€299.99 -
WEDZE
Carbon touring ski with bindings and skins, WILDER 95
€794.99 -
WEDZE
Touring skis with bindings and skins, WILDER 102
€844.99 -
WEDZE
All Mountain Skis with Bindings Patrol 83 - Grey
€414.99 -
WEDZE
Cross-country ski binding with insert, TOUR LIGHT+
€289.99 -
WEDZE
WEDZE TOURING SKI BINDING - TOUR LIGHT
€219.99