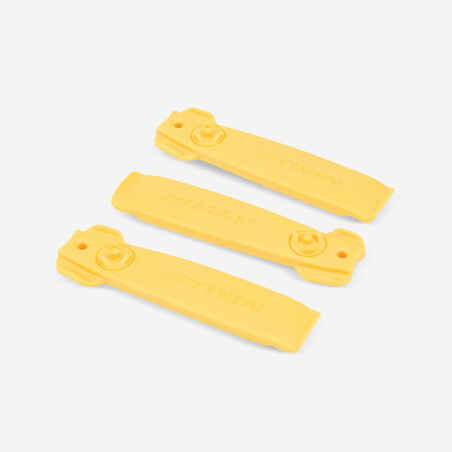
User tip:
1. Remove the inner tube and locate the puncture
2. Roughen the area around the puncture using the sandpaper
3. Clean and dry this area
4. Apply the self-adhesive patch and press hard on the entire area for around 45 seconds
5. Run your nail over the patch to increase its adhesive power
6. Put the inner tube back in the tyre and the tyre in the rim
7. Inflate your tyre to the recommended pressure.
Storage:
Optimal lifespan:3 years at room temperature (16-22°C, 30-70% humidity), away from direct light, in original packaging.
Minimum temperature for repairs: +10°C
Temperature for use: -40°C to +65°C
Applying the patch:
Be careful not to touch the sticky part when positioning the patch, so as not to reduce its sticking power.
Remove any air bubbles from the centre of the patch towards the edges.
Rub the patch with your nail to warm it up and help it stick better.
Finally, press firmly with your thumb, covering the entire patch for 45 seconds to 1 minute (press on a clean, flat surface for greater effectiveness).
Sanding:
A good sanding of the area concerned will give you a better result.
The aim is to obtain a flat, clean surface so the patch holds as well as possible.If the puncture is close to excess material, sand until the excess is removed.
Sanding will create micro-scratches that will allow the glue on your patch to set more easily.
This stage is very important for a lasting repair.
Cleaning:
Clean away any impurities to ensure a clean, flat and dry area to apply the patch.
Remember: don't use water or any other product to clean your inner tube after sanding. It's essential to have a clean, dry surface to ensure that your patch lasts.